In Elizabeth, New Jersey, where older row homes, vibrant multi-family buildings, and busy storefronts meet coastal humidity and winter road salt, tile floors take a beating. A proven, repeatable process is the difference between dull, stained grout and a floor that looks freshly installed. This guide walks you through a reliable, safe, and results-driven method for restoring tile and grout in Elizabeth’s unique conditions, from pre-inspection to sealing and maintenance. If you prefer expert help to save time and ensure consistent results, consider professional tile and grout cleaning to handle the heavy lifting while protecting your investment.
Understanding Why Tile And Grout Get Dirty In Elizabeth
Elizabeth’s climate and lifestyle play a big role in grime buildup. Summer humidity drives moisture into porous grout lines, harboring mildew and odors. Winter introduces sand, salt, and slush from sidewalks and parking lots, which etch tile and stain grout. In kitchens, cooking oils aerosolize and settle on floors, bonding with dust; in bathrooms, soap scum and hard water minerals cling to surfaces. High-traffic areas—entryways near Elizabeth Avenue, stairwells in multi-unit buildings, and commercial corridors—repeatedly grind fine grit into grout, accelerating discoloration.
Grout is essentially a network of tiny pores. Those pores trap pigment from spills, detergent residues, and tracked-in soil. Combine this with insufficient drying or poor ventilation, and you have a perfect environment for stubborn stains and lingering odors. A proven process tackles soil chemistry, agitation, heat, dwell time, and rinse quality in a coordinated sequence.
Safety And Site Preparation
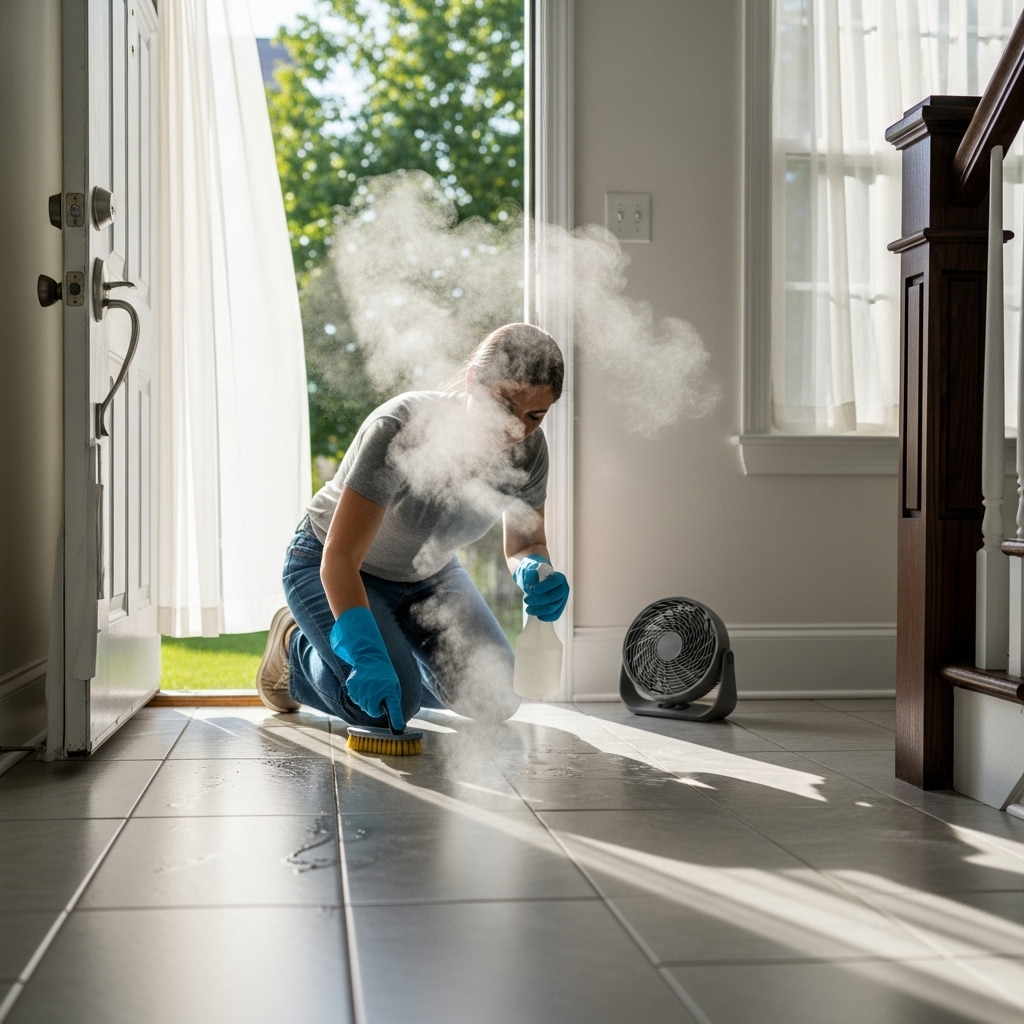
Preparation is where consistent results begin. Clear movable furniture, mats, and bins. Sweep or vacuum thoroughly to remove loose grit, which can scratch tile during wet work. Ventilate the area by opening windows or using fans, especially in bathrooms with limited airflow. Test cleaners on an inconspicuous spot to check for colorfastness on cementitious grout and to avoid etching natural stone. Tape off adjacent surfaces such as baseboards or painted cabinets, and protect delicate thresholds with towels.
Set up a wet/dry vacuum or microfiber mop station for rinse control. Have multiple buckets—one for cleaner, one for rinse water—to avoid cross-contamination. Wear gloves and, if you are sensitive to fragrances, a basic mask. Keep pets and kids out of the work zone until the floor is dry and sealed.
Tools And Solutions That Work
- Alkaline degreaser for kitchen soils and general grime
- Acidic mineral remover for hard water and efflorescence (avoid on acid-sensitive stone)
- pH-neutral daily cleaner for maintenance
- Grout-specific brushes, including narrow joint brushes and orbital attachments
- Soft white pad for glazed ceramic and porcelain; non-scratch pads for delicate finishes
- Hot water or controlled steam for heat-assisted loosening of soils
- Wet vacuum or microfiber squeegee for controlled rinse
- Penetrating or color-seal grout sealer; compatible stone sealers where applicable
Proven Step-By-Step Cleaning Process
- Inspection and mapping: Identify traffic lanes, stains, cracked grout, loose tiles, and different material types. Note transitions, thresholds, and areas around toilets, stoves, and refrigerators.
- Dry soil removal: Vacuum edges, corners, and grout joints. Use crevice tools to lift fine grit that would otherwise scratch during wet work.
- Alkaline pre-spray: Apply a quality alkaline cleaner to break down oils and tracked-in residues. Allow a dwell time of 5–10 minutes, keeping surfaces damp, not flooded.
- Agitation: Scrub grout lines with a stiff brush. For larger areas, use an orbital or rotary tool with a soft pad to accelerate results while protecting the finish.
- Hot water rinse and extraction: Rinse with hot water and extract with a wet vacuum. This step removes suspended soils rather than pushing them into other areas.
- Mineral and soap film treatment: Where hard water or soap scum is present (common in older Elizabeth bathrooms), spot-treat with an acidic cleaner suitable for the surface. Rinse thoroughly and neutralize.
- Stain-specific interventions: Apply oxygen-based boosters on organic stains, solvent boosters on grease spots, and enzymatic treatment for urine or bio-odors where appropriate.
- Second rinse and moisture control: Perform a polishing rinse with clean water. Remove standing water and promote airflow for faster drying.
- Detail edges and fixtures: Address baseboards, under vanities, toe kicks, and around floor registers where soils accumulate.
- Sealing: Once completely dry, apply a penetrating grout sealer. For deeply stained grout that resists cleaning, consider a color-seal to rejuvenate uniform appearance and improve stain resistance.
Material-Specific Considerations
Ceramic and porcelain typically tolerate alkalines and mild acids, but glazed finishes can swirl if scrubbed with overly aggressive pads. Natural stone, such as marble and travertine, is acid-sensitive, so skip acidic cleaners entirely and rely on alkaline solutions, controlled heat, and neutralizing rinses. Quarry tile in restaurant-style settings can trap grease; heat, alkalinity, and stiff agitation are key. For glass mosaics, use soft pads and avoid abrasive brushes.
Grout type matters. Cementitious sanded grout absorbs more quickly, requiring thorough sealing. Unsanded grout in narrow joints is smoother but still porous. Epoxy grout, while stain-resistant, can develop a thin film and may require specific surfactants and mechanical agitation to lift residues.
Odor And Mildew Control
In bathrooms with limited ventilation or in basements near Newark Bay, persistent humidity feeds mildew. After cleaning, improve airflow with a fan and consider a dehumidifier if the space routinely feels damp. Enzymatic cleaners can help digest odor-causing residues in porous grout. Seal only after odors are eliminated and moisture readings are normal; sealing in dampness can trap smells.
Drying And Sealing For Lasting Results
Drying is not just a waiting game. Squeegee excess water toward drains or gather with a microfiber mop, then run fans to promote evaporation. Only when grout is bone dry should you apply sealer. Work in small sections, let the sealer dwell, and buff off any excess to avoid haze. A high-quality penetrating sealer preserves the natural look while creating a barrier that buys you time to wipe up future spills before they stain.
Routine Maintenance In Elizabeth Homes And Businesses
- Daily or every-other-day dry sweep or vacuum in high-traffic lanes
- Weekly pH-neutral mopping; change water frequently to avoid redepositing soils
- Spot-treat spills immediately; oil and tomato-based sauces stain grout quickly
- Post-storm entry mat refresh to capture salt and grit
- Quarterly deep clean and annual or biennial reseal depending on traffic
Consider how your household or business uses the space. Large families, pets, or street-level storefronts along Broad Street may need more frequent attention. Keep extra microfiber pads on hand and designate one set only for bathrooms to prevent cross-contamination.
Quality Control And Verification
After cleaning, inspect in both natural and artificial light. Mineral films often reveal themselves as a dull cast at certain angles. If you see dullness, re-rinse, agitate lightly, and dry-buff. Check grout color uniformity; isolated dark areas may need a second spot treatment. Finally, test water beading after sealing to confirm protection.
When To Bring In Experts
If you encounter etched marble, cracked tiles, chronic odors, or heavy grease layers that keep reappearing, it may be time for a pro. Technicians with heat-assisted equipment, high-flow rinse tools, and grout color-seal options can reset even severely neglected floors. In multi-unit properties or restaurants, professional scheduling and rapid drying minimize downtime while achieving consistent results across large areas.
Midway through a project, especially when you’ve completed basic agitation and rinse but stubborn stains remain, you may benefit from a service that combines heat, controlled chemistry, and immediate extraction. In that case, scheduling professional tile and grout cleaning can push your results over the finish line and protect delicate surfaces with the right sealers.
Mistakes To Avoid
- Using bleach as a primary cleaner, which can degrade grout and discolor certain tiles
- Mixing chemicals; always rinse between alkaline and acidic steps
- Skipping dry soil removal, which causes micro-scratches
- Over-wetting and poor ventilation, which invite mildew and odors
- Applying sealer over damp grout, trapping moisture
Frequently Asked Questions
Q: How often should grout be sealed in Elizabeth’s climate? A: In homes with average traffic, every 12–24 months is typical. For busy households or commercial spaces, consider 6–12 months, especially after winter when salt exposure is highest.
Q: Can I use vinegar on tile? A: Vinegar can remove mineral films from ceramic and porcelain but should not be used on natural stone. Always test in an inconspicuous area and rinse thoroughly.
Q: Why does my grout look blotchy after cleaning? A: Uneven drying, residue left on the surface, or variations in grout porosity can create a blotchy look. A final rinse and complete drying often even out the appearance; persistent stains may require targeted spot treatment or color-seal.
Q: Do steam cleaners work for grout? A: Controlled steam can help loosen soils, but you still need agitation and immediate extraction. Avoid prolonged steam on cracked grout or around loose tiles to prevent moisture intrusion.
Q: What’s the best mop type? A: Microfiber flat mops excel at lifting soil without pushing it into joints. String mops can redeposit dirt if not changed frequently.
Q: How do I prevent bathroom mildew? A: Improve ventilation, run an exhaust fan after showers, squeegee walls and floors, and keep grout sealed to reduce moisture absorption.
Q: My tile looks dull even after cleaning. Why? A: Soap film, hard water deposits, or microscopic scratches scatter light. A targeted film remover, gentle pad polishing, and a thorough rinse generally restore gloss to compatible surfaces.
Q: Is color-sealing grout a good idea? A: Yes, especially for deeply stained grout or to change color for design reasons. It offers excellent stain resistance and a uniform, refreshed appearance.
Ready For Long-Lasting Clean Floors In Elizabeth?
If you want a faster path to spotless grout lines, reliable protection, and a floor that stands up to Elizabeth’s humidity and winter grit, book trusted experts today. Schedule your service with local specialists who understand building materials common to Union County and know how to manage drying, sealing, and traffic downtime. Start now with convenient, reliable tile and grout cleaning service and enjoy a brighter, healthier home or business.