
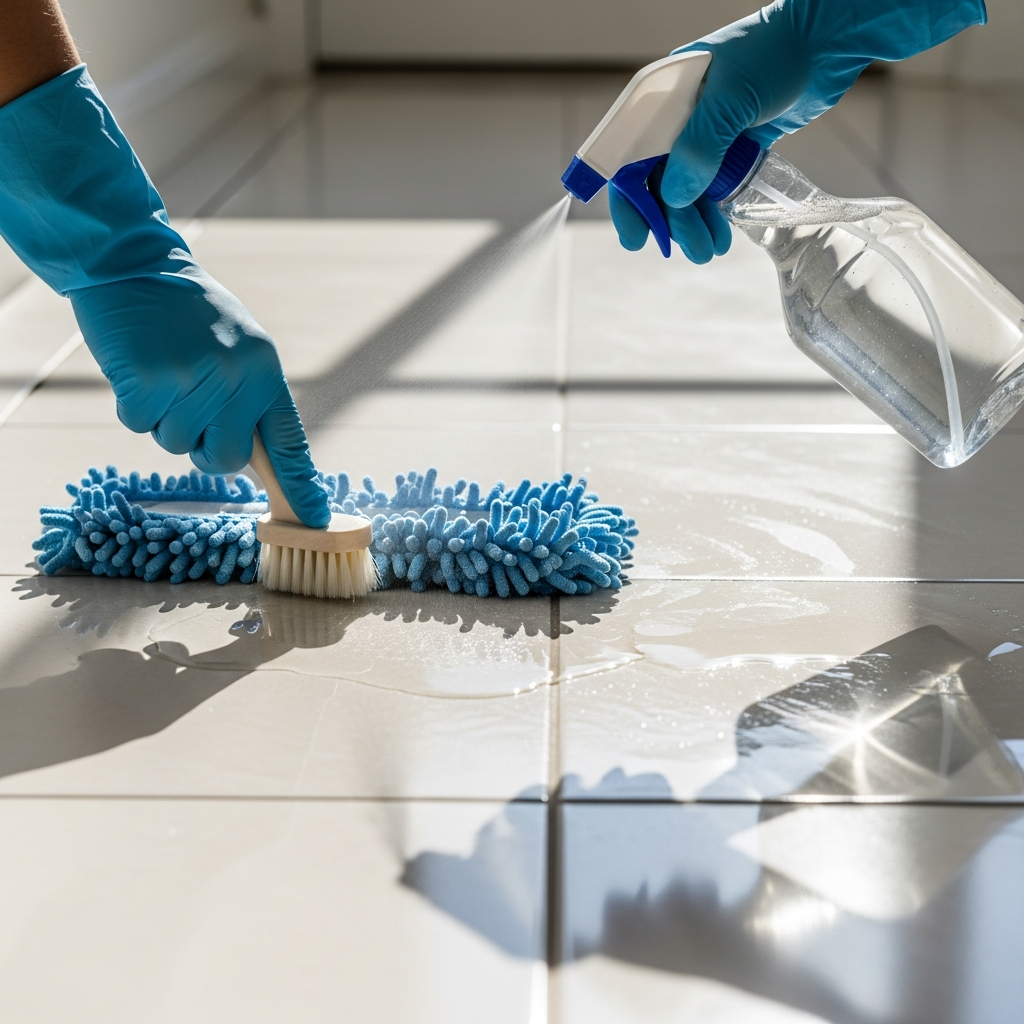
Choosing the best tile and grout cleaning solution for Elizabeth, New Jersey homes can feel overwhelming. Aisles of products promise quick results, while online advice ranges from vinegar recipes to heavy-duty formulas. The reality is that the best solution is not one-size-fits-all; it depends on your tile type, grout condition, and the kind of soils present. The smartest starting point is to understand the principles behind effective care and how professionals approach different surfaces. If you are seeking a reliable path forward, look to trusted practices in professional tile and grout cleaning and adapt them to your home’s materials and daily routines.
Elizabeth’s housing mix—from historic homes with small-format tile to modern condos with large-format porcelain—demands flexible strategies. Kitchens collect a blend of oils and fine grit, bathrooms accumulate soap scum and mineral deposits, and entryways battle slush and road dust in winter. Each area calls for a slightly different solution and method. This guide will walk you through product selection, application techniques, room-by-room tactics, and maintenance plans tailored to our local conditions.
Principles of an Effective Cleaning Solution
A winning solution cleans thoroughly without leaving residues that attract new soil. It respects the material—ceramic, porcelain, or natural stone—and works with the grout’s porosity instead of against it. It pairs with proper agitation and rinsing, since even the best formula cannot deliver results if it is not removed along with the suspended soil.
Neutral pH products are often the safest default for routine care across many tile types. They lift everyday dirt without etching finishes. For specific soils like kitchen grease or soap scum, targeted formulas may be appropriate, but they should still rinse clean. The goal is clarity, not a temporary gloss that masks film.
Knowing Your Tile and Grout
Before picking a product, identify your materials. Ceramic and porcelain are common and generally resilient. Natural stones such as marble, travertine, and slate require gentler products and careful agitation. Grout varies in porosity and color. Light grout shows discoloration quickly and benefits from protective strategies. Wider grout lines may trap more soil but are easier to access during cleaning, while narrow lines demand precision tools and careful technique.
Why Residue Is the Hidden Enemy
Many homeowners clean regularly yet still see dingy floors. The culprit is often residue. Some products leave polymers or soaps that dry into invisible films. These films attract dust and oils, leading to rapid re-soiling. In humid Elizabeth summers, residues feel tacky underfoot and hold more dirt. The best solution is one that rinses away completely, leaving the surface genuinely clean rather than coated.
How Professionals Pair Solutions and Methods
Professionals do not rely on a single magic bottle. They combine targeted solutions with steps that ensure complete removal of suspended soils. A simplified sequence looks like this:
- Inspection and testing to identify tile and soil types.
- Dry soil removal by vacuuming or dusting.
- Application of a compatible solution with enough dwell time to work effectively.
- Agitation matched to tile texture and grout profile.
- Thorough rinsing or extraction to lift away soils and residues.
- Optional grout protection to slow future discoloration.
This integrated approach delivers clarity and consistency, which is why replicating professional results requires attention to both chemistry and technique.
Room-by-Room Solution Strategies
Each space has different demands, so tailor your products and methods accordingly.
Kitchens: Use a cleaner formulated to cut through oils without leaving film. Pair with microfiber mops or pads that lift rather than smear. Rinse with clean water to avoid redepositing residue.
Bathrooms: Choose a solution that targets soap scum and mineral deposits but is non-acidic for sensitive stones and safe for grout. Ventilate well during and after cleaning. Squeegee walls and floors after showers to slow buildup.
Entryways: Focus on dry soil removal first to avoid grinding grit into surfaces. Follow with a neutral cleaner and careful rinsing. Mats make a big difference in catching debris.
Basements and Laundry Rooms: Address moisture. Use residue-free products and ensure good airflow so surfaces dry promptly.
Tools That Amplify Your Solution
The right tools make any solution work better. Microfiber mops lift soil effectively and release it when rinsed. Soft-bristle brushes fit grout lines without tearing at the surface. For textured tile, use agitation tools that reach crevices without scratching. Avoid overly abrasive pads that can scuff glazes or damage stone.
When to Consider Professional Help
Even with excellent products and technique, some situations call for a deeper reset—heavy discoloration in grout, residue layers from previous products, or tricky combinations of soils. That is when a professional visit can restore a clean baseline. Experts apply the same principles outlined here but with calibrated tools and strong extraction that leave surfaces bright and residue-free.
Midway Tune-Up for Your Strategy
Halfway through refining your cleaning plan, pause to assess results. Are some areas bright while others remain shadowed? Do floors feel tacky soon after mopping? These signs suggest residue or incomplete rinsing. Reviewing best practices from professional tile and grout cleaning can help you adjust dwell times, agitation, or product choice to correct the course.
Frequently Asked Questions
Q: What is the safest everyday cleaner for most tiles? A: A neutral pH cleaner designed for tile is a reliable default for routine care and is less likely to leave residue or damage finishes.
Q: Can I use vinegar on my tile? A: Vinegar can etch certain stones and dull some finishes. It is safer to use a neutral formula unless you are certain your materials can handle acidity.
Q: Why does my grout look dark even after mopping? A: Grout is porous and can hold soils below the surface. Without targeted agitation and thorough rinsing, embedded dirt remains.
Q: Do I need to seal grout? A: Sealing helps slow staining and makes maintenance easier. The decision depends on grout type, exposure, and your maintenance preferences.
Q: How do I avoid streaks on large-format porcelain? A: Work in sections, change water frequently, and finish with a clean, damp pass to remove any remaining solution.
Q: Are textured tiles harder to clean? A: They can be, because crevices trap fine debris. Use tools that reach textures and rinse thoroughly to prevent residue.
Q: What if I have different tiles in adjoining rooms? A: Adjust your approach for each material. Use compatible solutions and tools, and rinse thoroughly when transitioning between spaces.
Q: How can I keep shower grout from discoloring quickly? A: Improve ventilation, squeegee after use, and use a residue-free cleaner designed for bathrooms.
Creating a Simple Maintenance Plan
A sustainable plan beats sporadic deep scrubs. Sweep or vacuum high-traffic areas several times a week to remove grit. Mop weekly with a neutral cleaner, rinsing tools frequently. Address spills promptly to prevent absorption. In bathrooms, run exhaust fans and squeegee surfaces. Add entry mats to catch debris before it reaches your tile. These small habits combine to keep your home looking its best.
Elizabeth, NJ Considerations
Local weather and housing styles influence product and method choices. Winter brings road grit and slush, so prioritize dry soil removal to protect grout. Summer humidity can amplify residues, making thorough rinsing especially important. Older homes often include smaller tiles and narrow grout lines that need careful agitation to avoid roughening.
How to Test a New Solution Safely
Before using a new product widely, test it in an inconspicuous area. Apply a small amount, allow dwell time, agitate gently, and rinse fully. Check for changes in color or sheen once dry. If the result is positive, expand to a larger section. This method reduces surprises and protects delicate materials.
Signs Your Current Solution Is Not Working
Watch for streaks, cloudy films, or rapid re-soiling—these indicate residue. If grout stays dark after repeated efforts, you may need deeper agitation and extraction. Unpleasant odors can signal trapped moisture or contamination in grout, which often requires a reset to address effectively.
When Natural and Specialty Stones Are Involved
Marble, travertine, slate, and terrazzo require special care. Avoid acidic products unless specifically approved for the stone. Use softer brushes and lighter agitation. Consider professional guidance for restorative work on these materials to protect both aesthetics and longevity.
From Confusion to Clarity
With so many products on the shelf, it is easy to feel uncertain. Focus on the principles: compatible chemistry, balanced agitation, and thorough rinsing. Tailor your approach to the room and the material. Small adjustments—like switching to a neutral cleaner or changing rinse technique—often yield big improvements. Over time, your routine becomes second nature, and your floors and walls reflect that consistency.
Take Action for a Cleaner, Brighter Home
If your tile looks dull or grout lines have darkened, the solution is within reach. Start with the guidance here to refine your products and techniques, and call in experts for a periodic reset when needed. With the right plan, you will spend less time scrubbing and more time enjoying your home’s fresh, clear surfaces. For a reliable transformation and easy maintenance afterward, schedule professional tile and grout cleaning and see how quickly your rooms regain their shine.