Introduction: Your Step-by-Step Tile and Grout Cleaning Blueprint
Ready to bring back the crisp look of your tile floors, walls, and counters in Elizabeth, New Jersey? This step-by-step guide gives you a clear path from preparation to finishing touches so you can clean confidently and consistently. You will learn how to remove dry soils, choose the right cleaner, scrub effectively without damage, and leave surfaces streak-free. If a deeper reset is needed at any point, you can always coordinate expert tile and grout cleaning and then maintain that renewed look with simple weekly habits.
Cleaning tile and grout is as much about technique as it is about tools. Grout’s porous texture holds onto fine soils, while tile glazes can show streaks when residues remain. The method below focuses on small, controlled sections and deliberate extraction for consistently bright results.
Before starting, gather your supplies and set expectations. Heavily stained grout may require repeated, gentle passes rather than one aggressive attempt. Patience, not pressure, is the key.
Step 1: Gather Supplies and Prepare the Space
Collect a pH-neutral cleaner suitable for tile and grout, a bucket of warm water, microfiber cloths, a non-scratch pad, and a firm nylon grout brush. If working in a bathroom, plan for ventilation by opening a window or using the fan. Clear the area of mats and small items, and sweep or vacuum thoroughly to remove grit.
Place your tools within easy reach to avoid drips and spills as you move. Keep extra towels nearby for immediate drying—this small step prevents over-wetting and residue.
Step 2: Inspect and Test
Identify your tile type. Ceramic and porcelain tolerate neutral cleaners well; natural stone needs extra caution. Test your cleaner in a hidden corner to check for discoloration, dulling, or residue. If your tile passes the test, proceed with confidence.
Assess the specific soils. Kitchens often have oil film; bathrooms collect soap scum and mineral deposits; entryways hold gritty debris. Tailor your approach to the dominant issue.
Step 3: Pre-Mist and Dwell
Mist a small area of three to four square feet. The light moisture softens films and allows the cleaner to spread evenly. Let it sit briefly to break the bond between soils and the surface without saturating grout.
Use this moment to plan your scrubbing pattern. Consistent, overlapping strokes prevent patchy results and save time in the long run.
Step 4: Apply Cleaner
Apply a pH-neutral cleaner diluted according to label directions. For floors, use a microfiber mop or cloth; for walls and counters, a spray bottle and cloth offer better control. Work in a logical sequence—left to right, top to bottom—so you can track completed sections.
Keep your tools clean by rinsing or replacing cloths frequently. Dirty pads can smear soils and leave haze.
Step 5: Agitate Tile Surfaces
Using a non-scratch pad, agitate the tile with light circular motions. Your goal is to lift films without scouring the finish. Adjust pressure to the tile’s texture; glossy finishes show scratches more easily than matte ones.
Refresh your pad when it begins to look soiled. Agitation is most effective when the tool is clean and the solution is fresh.
Step 6: Scrub Grout Lines
Switch to your grout brush and work the lines with short, firm strokes. Allow additional dwell time on stained sections, then resume scrubbing. Focus on consistency rather than force; repeated gentle passes are safer and more effective than heavy pressure.
Pay extra attention to corners and edges where debris accumulates. Use a slightly damp cloth to wipe away lifted soil before it can resettle.
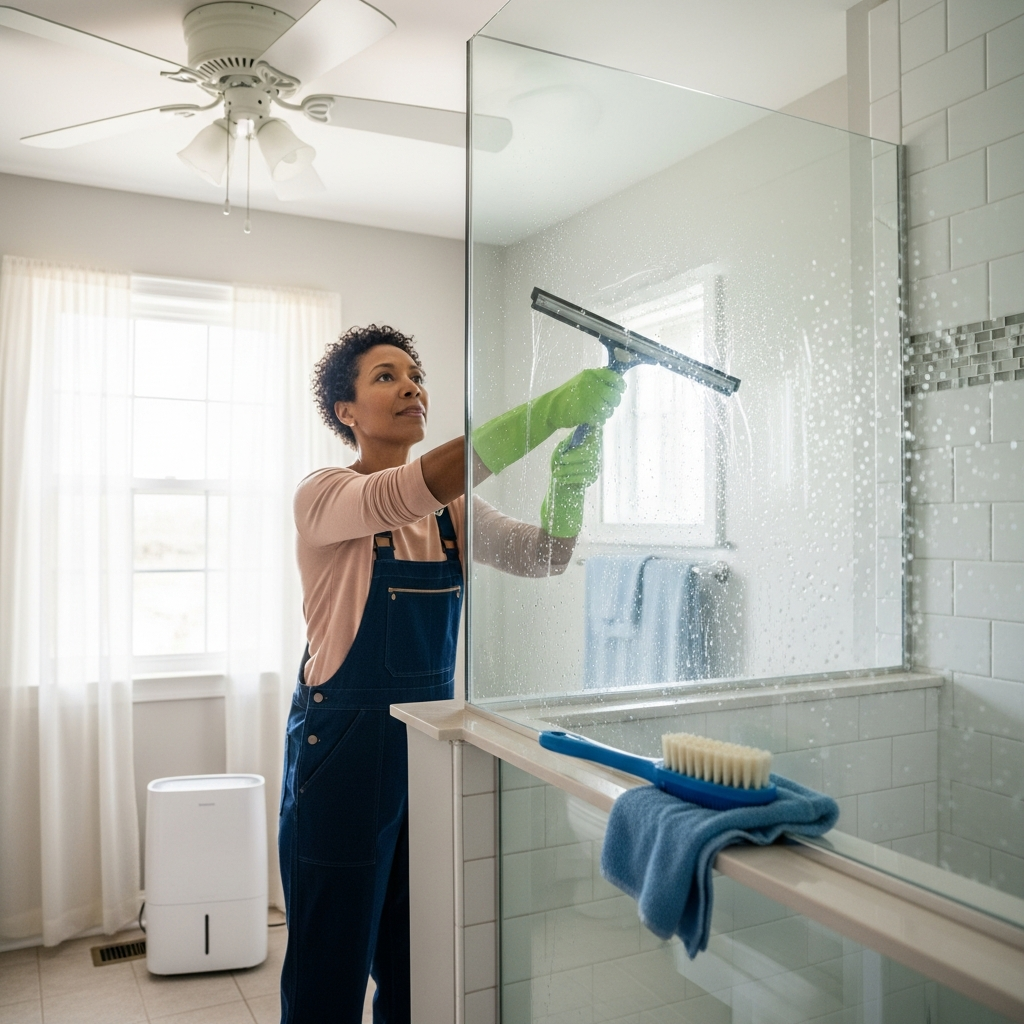
Step 7: Rinse and Extract
Rinse with clean water using a damp microfiber cloth or mop, then immediately follow with a dry towel to lift remaining moisture. This two-step approach is crucial to preventing haze and streaks, especially on larger tiled areas.
Change your rinse water frequently. If it turns cloudy, it is spreading dirt. Clean water equals a clean finish.
Step 8: Drying and Buffing
Encourage airflow with fans or an open window. Keep off freshly cleaned floors until they are dry to the touch. Buff tiles with a dry microfiber cloth to enhance clarity and uniformity, paying special attention to glossy finishes.
In showers, use a squeegee after each use to prevent water spots and soap scum from forming between deep cleanings.
Step 9: Sealing and Protection
When grout is clean and fully dry, apply a penetrating sealer if recommended for your grout type. Sealer makes future maintenance easier by slowing absorption of spills. Follow product directions and allow proper cure time before exposing the area to water or heavy traffic.
Protect entryway tiles with mats and a “shoes off or wipe” habit. These small defenses keep grit from abrading the surface and darkening grout.
Elizabeth, NJ-Specific Tips
Winter road salts can leave residues that dull tile. Sweep often, then damp-clean and extract thoroughly to avoid white film. In humid months, boost airflow and consider a dehumidifier in bathrooms or basements to speed drying and discourage mildew growth.
Kitchens in busy households benefit from quick wipe-ups after cooking. Removing oil film promptly prevents slow discoloration of grout lines.
When the Job Calls for Backup
Some stains are simply too deep for home tools, especially in aged grout or heavily used areas. Extraction equipment and specialized methods can reach into pores and reset the surface to a cleaner baseline. If you prefer a faster turnaround or need a thorough refresh, book professional tile and grout cleaning and then return to the simple steps in this guide for weekly upkeep.
Professionals can also advise on regrouting or color-sealing options that go beyond cleaning when uniformity is the goal.
Frequently Asked Questions
Q: How often should I perform this full routine?
A: A light version weekly and a deeper session monthly works well for most homes. Adjust frequency based on traffic and the room’s use.
Q: What if my grout turns darker while I clean?
A: That usually indicates moisture absorption. Reduce water, work in smaller sections, and extract promptly with dry towels.
Q: Can I use the same cleaner on natural stone?
A: Many neutral cleaners are safe for ceramic and porcelain but not for all stones. Always verify compatibility and test before use on stone.
Q: Why is buffing important?
A: Buffing with a dry microfiber removes residual moisture and microscopic films that cause haze, leaving a clearer finish.
Q: Do I need a steam cleaner?
A: Not necessarily. Proper agitation, dwell time, and extraction produce excellent results. Use steam cautiously and avoid on sensitive materials.
Q: How can I keep shower grout brighter between deep cleans?
A: Squeegee after each shower, promote airflow, and perform a quick weekly clean to prevent buildup from taking hold.
Make Every Clean Count
Follow these steps deliberately, and your tile and grout will reward you with a crisp, refreshed appearance. Tackle small sections, rinse thoroughly, and dry completely to lock in a streak-free finish. When you want an efficient reset or expert assistance, schedule trusted tile and grout cleaning services and enjoy how effortless routine care becomes afterward.