Introduction: The Ultimate Tile and Grout Cleaning Checklist for Elizabeth Homes
Keeping tile bright and grout lines crisp is easier when you follow a reliable checklist tailored to the way New Jersey homes are used throughout the year. This comprehensive list covers daily, weekly, and monthly tasks, plus deep-cleaning steps for kitchens, bathrooms, and entryways in Elizabeth. Use it to simplify decisions, avoid common mistakes, and maintain a consistent standard. If you need a jump-start or a thorough reset, you can complement your routine with expert tile and grout cleaning and then keep everything looking great with quick touch-ups.
A checklist works because it removes guesswork. By organizing tasks by frequency and room, you can stay ahead of buildup and spend less time troubleshooting stains. The following sections outline clear actions that fit real homes and busy schedules.
Daily and Weekly Essentials
Daily: Dry dust or sweep high-traffic areas, especially entryways and kitchen paths. Capture grit before it can scratch tile or sink into grout. In bathrooms, squeegee shower walls and glass to reduce water spots and soap scum. Quickly blot spills in kitchens to prevent oils or dyes from soaking into grout.
Weekly: Perform a light damp clean with a pH-neutral cleaner. Work in small sections, agitate gently, and extract moisture with a dry towel. Focus on areas that collect residue—near the stove, around the sink, and at the home’s primary entry. This rhythm prevents dirt from taking hold, making monthly deep cleans faster and easier.
Monthly Deep-Clean Checklist
Preparation: Clear mats and small furniture. Vacuum thoroughly, paying attention to grout channels. Gather microfiber cloths, a non-scratch pad, a firm nylon grout brush, and a pH-neutral cleaner suitable for tile and grout.
Spot-Treat: Identify stained grout lines and apply cleaner with a bit of extra dwell time. Scrub with controlled pressure, repeating lightly if needed rather than scrubbing aggressively.
Section-by-Section Cleaning: Pre-mist a small area, apply cleaner, agitate tile with a non-scratch pad, scrub grout, and then rinse and extract promptly. Replace rinse water when it turns cloudy to avoid haze.
Final Buff: Once dry to the touch, buff tile with a fresh, dry microfiber cloth. This removes residual film and enhances clarity, especially on glossy surfaces.
Kitchen Focus
Cooking oils and food splatters are common in Elizabeth kitchens. Protect grout by wiping spills quickly and doing a light weekly clean around the stove and sink. For the monthly deep clean, allow a slightly longer dwell time for the cleaner in these zones, then agitate gently and extract thoroughly.
If you encounter sticky residues, choose a tile-safe, mild degreaser. Test first and avoid mixing chemicals. Consistency is better than intensity—several gentle passes yield safer, brighter results than one harsh attempt.
Bathroom Focus
Bathrooms face soap scum, hard water spots, and lingering humidity. Keep a squeegee handy and use it after showers to limit mineral deposits. During weekly cleans, focus on vertical surfaces first and then the floor, wiping from top to bottom to catch drips and reduce streaks.
For monthly deep cleaning, use a tile-safe, non-acidic product for soap scum if needed. Apply, allow a brief dwell, agitate lightly, rinse, and extract. Keep the fan running and the door open to improve airflow and shorten drying time.
Entryway Focus
Road salts and grit are entryway enemies, particularly in winter. Place door mats inside and out if possible, and shake them regularly. Sweep daily during high-traffic seasons, then damp-clean and extract weekly. Promptly remove white salt films to preserve tile clarity and grout color.
Adopting a “shoes off or wipe” habit at the threshold protects your floors year-round. Small, consistent habits make the biggest difference in how your tile looks over time.
Sealing and Protection
After a successful deep clean, consider sealing grout with a penetrating sealer recommended for your material. Thoroughly dry the surface first; sealers lock in cleanliness best when applied to clean, dry grout. Follow the product’s directions and allow the full cure time before exposing the area to water.
Reevaluate sealing annually or after particularly heavy use. A quick water drop test reveals whether your sealer still repels moisture. If the drop darkens grout rapidly, it is time to reapply.
Checklist for Tools and Timing
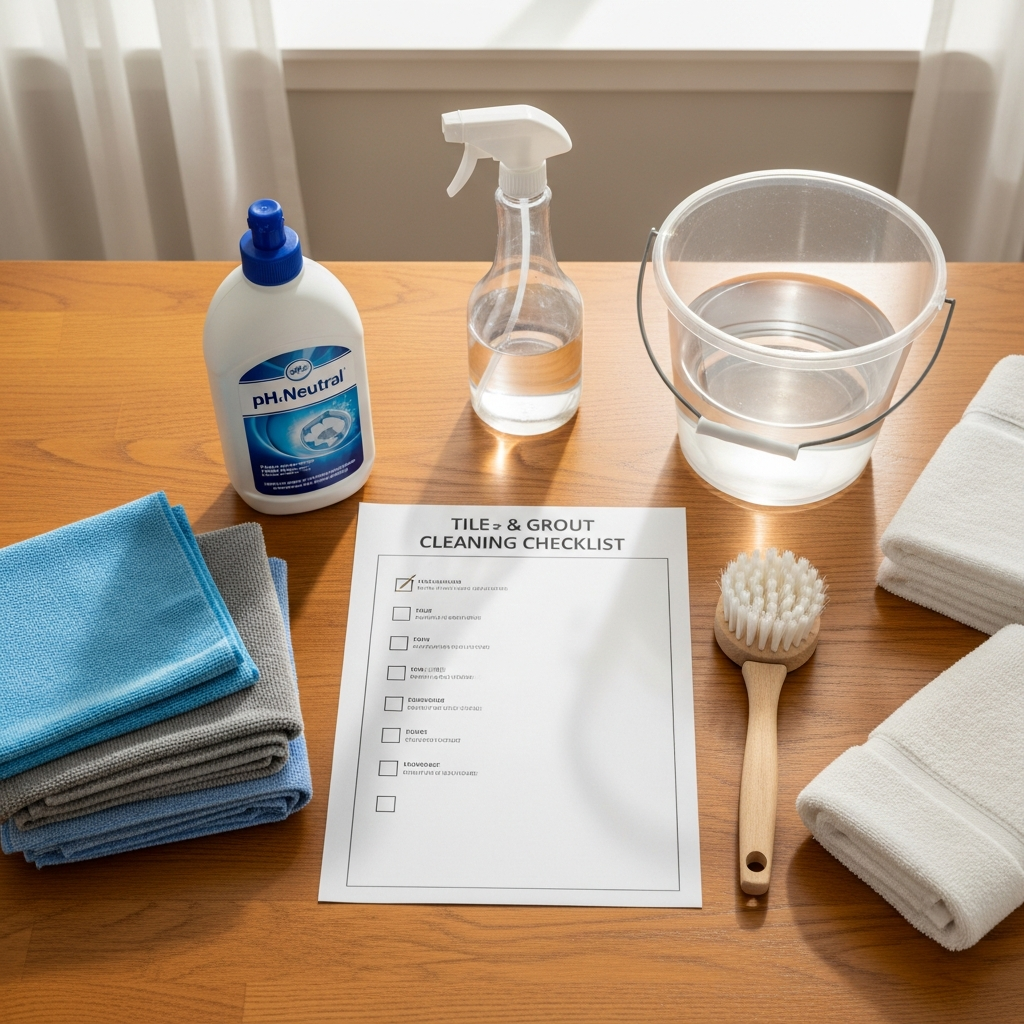
Tools: Microfiber cloths, non-scratch pad, firm nylon grout brush, spray bottle, pH-neutral tile and grout cleaner, bucket of warm water, dry towels, and optional squeegee for showers.
Timing: Daily dry sweep or dust as needed; weekly light damp clean; monthly deep clean. Adjust based on family size, pets, and lifestyle. The more foot traffic you have, the more you benefit from shorter intervals between cleans.
Common Mistakes to Avoid
Skipping dry soil removal allows grit to scratch tile and turn into muddy residue when wet. Always sweep or vacuum first. Another mistake is using too much water, which can drive soils into grout pores and lengthen drying time. Work in small sections with controlled moisture and extract promptly.
Avoid mixing products, especially bleach and acids, which can create dangerous fumes and damage materials. Test any new cleaner in an out-of-the-way area. Finally, neglecting the rinse and dry step leads to haze. Always follow cleaning with a clean water rinse and a dry towel extraction.
Elizabeth Climate Tips
In humid months, run the bathroom fan longer after showers and open windows when possible to encourage airflow. For winter, focus on keeping grit and salt at bay with frequent dry sweeps. These seasonal adjustments keep your checklist effective year-round.
If you host gatherings or cook frequently, add an extra quick clean in the kitchen midweek. Small additions prevent buildup and reduce the time needed for monthly deep cleans.
When to Call Pros for a Reset
Some grout lines remain discolored despite careful scrubbing, especially in older homes or heavily used spaces. In that case, consider a professional reset using specialized equipment to flush embedded soils and brighten grout uniformly. Booking professional tile and grout cleaning is a practical way to regain a like-new look and then return to the simple checklist above.
Professionals can also advise on color sealing or minor repairs that go beyond cleaning when uniformity is the goal.
Frequently Asked Questions
Q: How often should I deep clean tile and grout?
A: Monthly deep cleaning works for most homes, with weekly light maintenance. Increase frequency for high-traffic areas or reduce it for rarely used rooms.
Q: What is the safest cleaner to keep on hand?
A: A pH-neutral cleaner labeled for tile and grout suits most ceramic and porcelain installations. Always test products on an inconspicuous area.
Q: Do I need to seal grout every year?
A: Not always. Perform a water drop test. If water darkens grout quickly, reapply sealer. If it beads and remains on the surface, the sealer is still working.
Q: Can I use vinegar in the bathroom?
A: Avoid vinegar on cement-based grout and many tiles, and never use it on natural stone. It can etch surfaces and degrade grout over time.
Q: Why do I get haze after cleaning?
A: Haze is usually leftover cleaner or dissolved soil. Rinse with clean water and buff dry with microfiber to restore clarity.
Q: How can I prevent entryway damage in winter?
A: Use door mats, sweep frequently, and perform quick damp cleans to remove salt. Extract moisture thoroughly to protect grout.
Keep Your Home’s Tile Looking Its Best
With this checklist, you have a practical roadmap that adapts to seasons, rooms, and routines in Elizabeth. Stay consistent with daily and weekly actions, schedule monthly deep cleans, and protect grout with sealing when appropriate. For a dramatic refresh or time-saving help, arrange trusted tile and grout cleaning services and enjoy how easy maintenance becomes afterward. Bright tile and clean grout make every room feel fresher and more welcoming.