When routine mopping and light scrubbing are no longer enough, it is time to bring advanced tile and grout cleaning fixes to your Elizabeth, New Jersey property. From stubborn kitchen grease to mineral-heavy shower stains and salt-laden entryways, challenging soils demand upgraded techniques, smarter chemistry, and better sequencing. The goal is to restore grout color, protect tile finishes, and reduce future maintenance. This guide outlines pro-level tactics that homeowners and small businesses can apply safely with the right preparation. To frame your approach, study what works in field-tested tile and grout cleaning programs so you can decide when to escalate your methods and when to bring in outside help.
Elizabeth’s climate adds complexity: winter road salt, steamy summers that promote mildew, and busy households that track in grit. These conditions accelerate soiling and make quick fixes less effective. Advanced solutions focus on pre-empting re-soiling, removing entrenched residues, and reinforcing protection where floors work the hardest.
Upgrade Your Assessment
Advanced fixes begin with sharper observation. Map traffic lanes, identify chemistry-resistant soils, and test surfaces. Note whether discoloration is uniform or patchy, which hints at the cause—oils, minerals, or trapped detergents. Examine grout porosity by sprinkling water: rapid darkening signals high absorption and a need for deep extraction and possibly sealing. Document caulk integrity around tubs and showers; failing joints feed moisture to hidden grout backsides, defeating surface-only cleaning.
Use strong lighting. A handheld flashlight at a low angle reveals stuck-on films and micro-scratches on glossy tile. Mark zones that require targeted action so you can allocate dwell time and agitation precisely rather than flooding the entire floor with strong products.
Precision Chemistry
Select solutions matched to soils. For greasy kitchens, a food-safe alkaline degreaser breaks down oils that neutral cleaners leave behind. In bathrooms, a non-acidic soap-scum remover avoids etching grout while loosening residues. For mineral deposits, use a mild, surface-safe descaler designed for the specific tile and grout type. Avoid blanket acid usage; cementitious grout and some stones are vulnerable. Always test in a discrete spot and respect label dilutions to balance performance and safety.
Where prior products left tacky films, consider a rinse aid or a plain-water flush with multiple passes and fresh microfiber drying. Residual detergents often masquerade as “dirt that returns,” but they are simply sticky films re-collecting dust. Breaking that cycle restores true clean and extends the time between sessions.
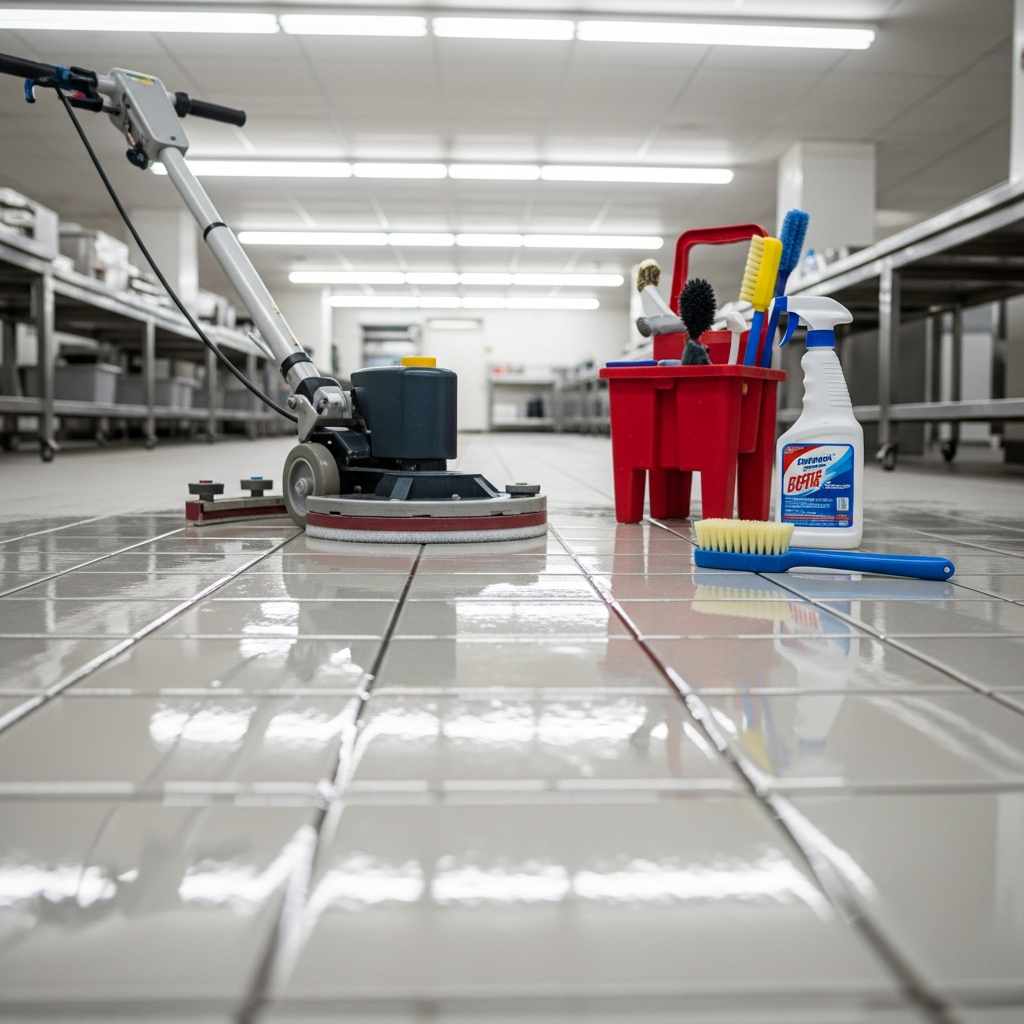
Targeted Agitation Tools
Manual nylon grout brushes with tapered bristles reach into grout valleys without eroding them. For large areas, a gentle oscillating tool with a soft brush head or a low-speed machine with a non-abrasive pad can accelerate work. Avoid aggressive pads that scratch glaze. In corners and niches—especially in Elizabeth bathrooms—use a small detailing brush. Agitate in controlled, linear strokes to keep soils moving outward, not deeper into joints.
Dwell Time Management
Advanced cleaning is less about brute force and more about timing. Apply product, then allow two to five minutes of dwell per label. For stubborn films, extend slightly while watching for any adverse reaction. Keep surfaces wet during dwell so chemistry does not dry and bond soils back onto tile. Work in sections you can control without rushing the rinse phase.
Deep Rinse Strategy
Plan multiple rinse cycles with fresh water. Replace recovery water frequently to avoid spreading residue. Use clean microfiber towels to dry and check results, particularly on glossy tile. If haze persists, reduce product concentration or add a second rinse. A thorough rinse is the single most overlooked “advanced” technique that clears residue and reveals true surface condition.
Addressing Mineral Deposits
Hard water marks around fixtures and on shower walls are common in New Jersey households. Use a mineral remover compatible with your surface. Apply lightly, allow brief dwell, agitate with a soft pad, and rinse immediately. Dry thoroughly to prevent spotting. Improve long-term results by squeegeeing after showers and running exhaust fans to lower moisture that feeds mineral accumulation.
Grease and Aerosol Residues
Cooking aerosols spread beyond the stove area, settling along cabinet toekicks and into grout pores. Pre-treat a wider perimeter than you think, including under appliance edges. Use a degreaser with measured dwell and light agitation, then rinse and dry. A final neutral cleaner pass can normalize the surface and reduce any alkalinity that might invite residue.
Salt and Grit Intrusion
Entryways in Elizabeth collect winter salt and grit that abrade glazes and stain grout. Increase vacuuming during slush season. Neutralize salt traces and rinse promptly. Consider a double-mat system—one outdoors, one indoors—and rotate mats for cleaning. During the thaw, schedule an extra deep pass to rebuild a clean baseline before spring pollen arrives.
Grout Color Correction
When discoloration is stubborn but grout is structurally sound, intensify your cleaning cycle with longer dwell, precise agitation, and impeccable rinsing. If shading remains, consider a color-seal product compatible with your grout type to unify appearance and add stain resistance. Apply only after a full deep clean and thorough drying. Record color and date for future touch-ups.
Ventilation and Drying Tactics
Advanced fixes hinge on moisture control. Run exhaust fans during and after showers. Keep bathroom doors ajar to encourage airflow. In basements or windowless baths, consider a dehumidifier during humid weeks. Dry floors with microfiber after rinsing; this simple act prevents mineral spotting, exposes haze you might have missed, and speeds return-to-service in busy households and shops.
Workflow Sequencing for Large Areas
Break expansive floors into quadrants. Complete the full cycle—pre-treat, agitate, rinse, and dry—in each quadrant before moving on. This prevents chemistry from drying in place and lets you adjust technique based on results. Keep a small notebook: note which products and dwell times worked best, and star any tweaks that sped up your work without compromising results.
Mid-Project Calibration
At the halfway mark, stop and evaluate. If grout is still patchy, extend dwell time a minute and focus agitation on joints rather than tile faces. If glossy tile shows rainbow sheen, you are likely seeing detergent film; dilute more and rinse twice. For benchmark guidance, compare your methods with what seasoned crews do in professional tile and grout cleaning, where tight control of chemistry, agitation, and rinse cycles prevents call-backs.
Preventive Upgrades That Stick
Small changes yield outsized gains: institute a shoes-off policy in winter, add interior mats near every exterior door, squeegee showers daily, and keep a microfiber cloth handy for quick post-cooking wipe-downs. Fix leaks fast and re-caulk compromised joints to block moisture pathways that darken grout from behind. Consider periodic sealing in high-traffic zones to slow soiling and simplify maintenance.
Commercial and Mixed-Use Considerations
For Elizabeth storefronts and offices, structure responsibilities with a visible schedule. Assign daily dry mopping, weekly damp cleaning, and monthly grout inspections. Color-code tools by area to prevent restroom-to-breakroom cross-contamination. Maintain a small response kit—spray bottle, microfiber, and grout brush—so staff can resolve spills before they set.
FAQ
Q: How can I tell whether I am seeing mineral deposits or soap scum? A: Mineral spots often appear chalky and resist neutral cleaners; soap scum feels waxy or slick. Use a surface-safe descaler for minerals and a non-acidic cleaner for soap residues.
Q: Why does grout look clean when wet but darken as it dries? A: Porous grout absorbs moisture, which temporarily masks discoloration. As water evaporates, embedded soils reappear. A targeted grout cleaner with proper dwell and rinsing addresses the root cause.
Q: Is stronger always better with cleaning products? A: No. Over-concentration leaves residue that attracts dirt. Follow label dilutions and favor better dwell, agitation, and rinsing.
Q: Will steam help? A: Steam can assist on ceramic and porcelain with intact joints but avoid on unsealed stone or failing grout and caulk. Test first and keep steam moving to prevent moisture overload.
Q: Should I seal all grout? A: Prioritize high-traffic and high-soil zones. Test absorption and evaluate maintenance goals. Apply only to clean, dry grout, and log application dates.
Move from Stuck to Stunning
Advanced tile and grout cleaning in Elizabeth comes down to disciplined observation, precise chemistry, controlled agitation, and meticulous rinsing and drying. Work in sections, adjust at the midpoint, and keep notes so each pass gets faster and more effective. When you want a periodic reset or help with tricky surfaces, partner with a local team known for expert tile and grout cleaning to restore uniform grout color, healthy traction, and a finish that holds up to New Jersey’s seasons.
Restore Your Tile with Confidence
If your kitchen, bath, or entry still looks tired after ordinary cleaning, apply these advanced fixes and track the difference in both appearance and effort. For a quicker transformation—or to validate your approach—call a trusted Elizabeth crew that specializes in tile and grout cleaning and enjoy surfaces that look brighter, feel cleaner, and stay that way longer.