Understanding the tile and grout cleaning process helps Elizabeth, New Jersey homeowners and property managers achieve consistent, professional-looking results without guesswork. From pre-inspection to final drying, each step has a purpose: protect finishes, lift embedded soils, restore grout color, and prevent rapid resoiling. Because Elizabeth experiences humid summers, gritty winters, and lively spring pollen, it is crucial to adapt a process that responds to local conditions. In this guide, you will learn how to sequence tasks, choose the right chemistry, and verify results in both residential and light commercial spaces. To calibrate your expectations and build confidence, compare your approach with the industry routines commonly used for tile and grout cleaning, and you will see why structure makes all the difference.
The process described here focuses on ceramic and porcelain tile with cementitious grout, the most common combination in Elizabeth homes. If you have natural stone or epoxy grout, adjust products and tools accordingly. Always test in an inconspicuous spot first, and remember that great results rest on fundamentals: dry soil removal, targeted chemistry with proper dwell time, gentle agitation, and thorough rinse-and-dry.
Step 1: Pre-Inspection and Testing
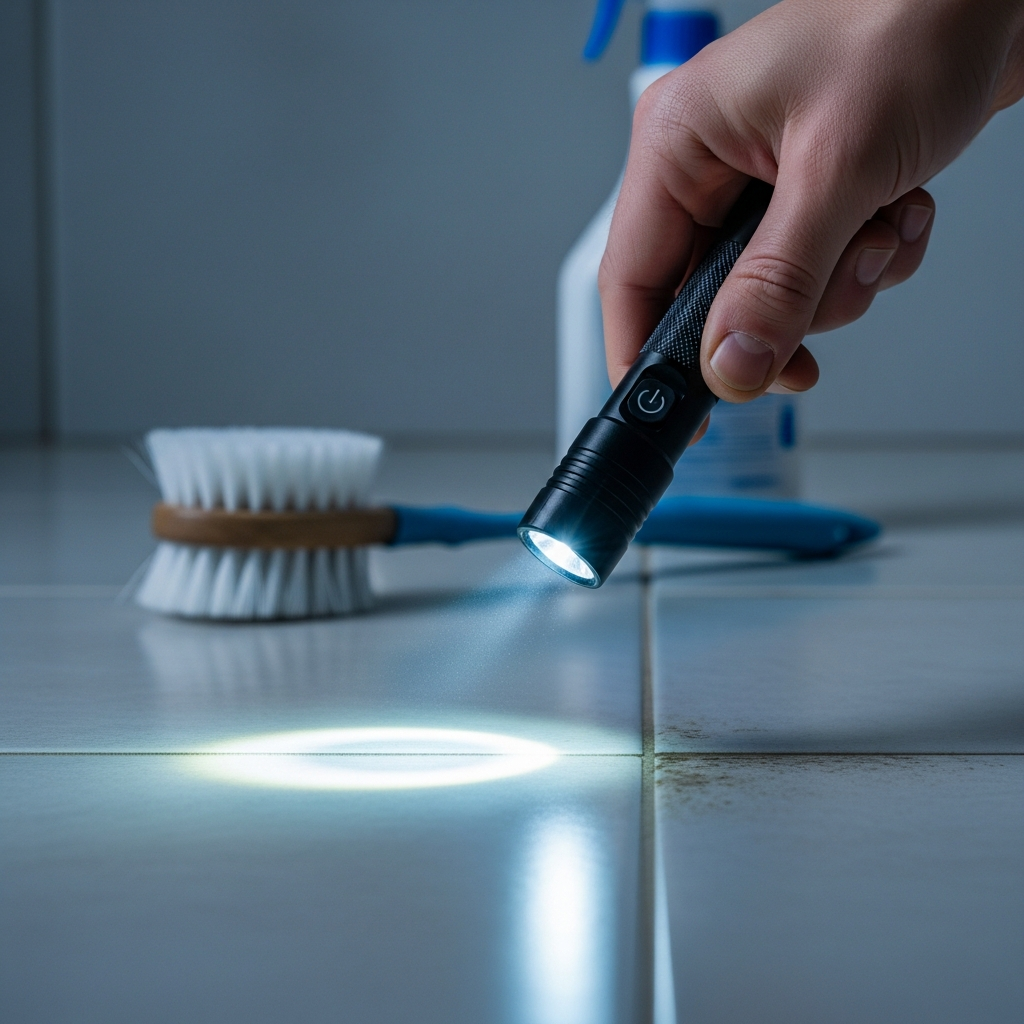
Start with a careful tour of the space. Look for staining patterns, uneven grout color, loose or cracked tiles, failing caulk, and any slippery residues. Ask about recent spills, renovations, or leaks. Use a light to inspect grout corners and edges where soil accumulates. If mineral deposits are visible, plan for extra attention in those zones. Test chosen products in a closet or behind a door, confirming no adverse reaction on glaze or grout. This step helps you tailor the rest of the process and avoid surprises.
Environmental checks matter, too. Ensure you can ventilate bathrooms, and consider a dehumidifier during muggy Elizabeth weeks. Confirm safe cord placement to prevent trips if you are using any powered tools. Good staging sets you up for efficient, uninterrupted work.
Step 2: Dry Soil Removal
Vacuum or dust mop thoroughly before introducing liquids. Focus on thresholds, around appliance bases, under cabinet overhangs, and in traffic lanes. Dry soil and grit act like sandpaper on glaze and become a muddy slurry if you skip this step. Removing them first improves cleaning performance and protects surfaces long-term, especially during winter when road salt tracks indoors.
Step 3: Pre-Treatment of Problem Areas
Apply appropriate cleaners to soils: degreasers in kitchens, non-acidic bath cleaners for soap scum, and grout-safe solutions along discolored joints. Allow dwell time per label—often two to five minutes—to let chemistry break bonds between soil and surface. Gently agitate with a nylon brush on grout and a microfiber pad on tile. Work methodically from clean to dirty areas to prevent spreading contaminants.
Step 4: Cleaning the Field Tiles
With problem zones pre-treated, clean the broader tile surface. Use a neutral cleaner for general soils and a slightly stronger solution where grease persists. Mop or pad in overlapping passes with light pressure. Replace pads or water as they load with soil. Rinse with clean water and dry promptly with microfiber to reveal any streaks or haze so you can correct them while the area is still accessible.
Step 5: Focused Grout Restoration
Grout holds onto discoloration more stubbornly than tile does. Apply a grout-safe cleaner, allow dwell time, and agitate with a soft brush in a controlled, linear motion. Rinse thoroughly and dry. Inspect under strong light for uniform color. If certain lines remain darker, repeat only in those zones to avoid overworking clean areas. Take a brief rest to evaluate from multiple angles; fatigue can make subtle shading harder to see.
Step 6: Final Rinse and Dry
A meticulous rinse prevents sticky residues that attract dust and cause rapid resoiling. Change rinse water often, and use fresh microfiber for drying. On glossy tile, drying eliminates mineral spotting and lets you verify that the surface is free of haze. In bathrooms, leave fans running and shower doors ajar to encourage airflow. In kitchens, dry near appliances and baseboards where moisture lingers.
Step 7: Protective Measures and Optional Sealing
If grout absorbs water quickly or stains return too easily, consider sealing. Only apply after a deep clean and complete drying, following product directions. Record the date and product used to guide future maintenance. Protective mats near entries reduce grit, and squeegees in showers reduce water residence time, which helps thwart mildew.
Quality Control: The Mid-Process Check
About halfway through larger projects, pause to evaluate. Are grout lines returning to a consistent tone? Is there haze on glossy tile? Are you using too much cleaner? Adjust dwell time, agitation, or dilution as needed. For inspiration, align your sequence with widely accepted practices in professional tile and grout cleaning, where technicians depend on disciplined rinsing and drying to avoid call-backs.
Adapting to Elizabeth’s Seasons
Winter: Increase focus on entryways. Vacuum more often to capture salt and grit, and promptly neutralize any white residue. Spring: Pollen and fine dust demand extra dry mopping. Summer: Manage bathroom humidity with fans and dehumidifiers; squeegee shower walls after use. Fall: Prepare for closed-window months by checking ventilation and addressing caulk gaps before cold sets in.
Bathroom-Specific Process Enhancements
Showers and tub surrounds invite soap scum and mineral deposits. Squeegee walls daily, and weekly apply a non-acidic cleaner safe for your surfaces. Let it dwell, then brush grout gently and rinse. Pay attention to niches, shelves, and metal trim where buildup hides. Dry corners thoroughly. Confirm that exhaust fans move adequate air; replace filters or clean grilles to improve performance.
Kitchen-Specific Process Enhancements
Cooking releases aerosols that settle on floors and backsplashes. Degrease the perimeter around the stove and the floor in front of it. Wipe cabinet toekicks, which often hold grime. Verify you have removed residue fully by performing a final clean-water rinse and drying the area to a streak-free finish. Consider placing a washable mat near prep zones to intercept spills.
Entryways, Hallways, and Stairs
These zones transfer soils into living spaces. Use sturdy mats and vacuum regularly during slushy weather. Spot-clean scuffs and spills promptly. Plan a monthly deep pass on grout lines near doors, where grit and melted snow concentrate. Dry thoroughly to avoid slip hazards and to see whether further attention is needed.
Safety, Tools, and Organization
Wear gloves, keep good airflow, and avoid mixing chemicals. Organize tools by room or task. Keep a small caddy for grout brushes and spot cleaners to tackle quick jobs without a full setup. Replace mop pads and microfiber cloths as they wear; saturated or frayed tools sabotage your results and waste time.
Measuring Success
Visible cues include uniform grout color, consistent tile sheen, and a floor that resists immediate resoiling. Tactile cues include a clean, non-sticky feel underfoot and smooth glide of a microfiber cloth. Odor reduction in bathrooms after deep-clean cycles confirms that you are controlling moisture and organic residues effectively.
FAQ
Q: How often should I perform a full process? A: Busy kitchens and baths benefit from a monthly deep cycle, with weekly maintenance in between. Entryways may require more frequent attention during winter.
Q: Can I use vinegar on grout? A: Avoid acids on cementitious grout and some stones. Choose grout-safe, non-acidic products for predictable results.
Q: Why does haze keep reappearing? A: Overuse of cleaner and insufficient rinsing cause residue. Follow dilution instructions, rinse with clean water, and dry thoroughly.
Q: Is sealing mandatory? A: Not always. Test water absorption. If staining happens quickly, sealing can slow soiling and ease maintenance.
Q: Are steam tools safe? A: On ceramic/porcelain with intact grout and caulk, steam can help; avoid on unsealed stone or compromised joints. Always test first.
Put the Process to Work
Structure breeds success. Follow the sequence—inspect, remove dry soil, pre-treat, clean tile, restore grout, rinse, and dry—then adapt to Elizabeth’s seasons and your property’s unique use patterns. Keep notes on dwell times, product strengths, and tools that deliver the best results. When you are ready for a periodic reset or want to validate your approach against expert routines, schedule help from a team specializing in expert tile and grout cleaning so your floors stay brighter, cleaner, and easier to maintain all year.
Bring New Life to Your Tile in Elizabeth
If your floors or showers have lost their sparkle, start with the proven process above and refine it as you go. For a deeper transformation or an occasional assist, partner with a local crew experienced in tile and grout cleaning and enjoy renewed grout lines, healthier indoor air, and a finish that stands up to New Jersey living.