Understanding the mattress cleaning process from start to finish empowers Elizabeth, New Jersey homeowners to protect their sleep, reduce allergens, and extend mattress lifespan. This comprehensive explanation walks you through assessment, debris removal, stain chemistry, deodorizing, drying, and post-care—always with the local climate in mind. Whether you plan to handle the steps yourself or coordinate periodic professional refreshes, the framework below clarifies what to do, why it works, and how to adapt during humid summers and chilly winters. If you decide to explore expert assistance while learning the method, you can consult this helpful keyword to compare techniques and ensure your approach remains safe for your mattress type.
Phase 1: Assessment and Safety
Every effective process begins with a careful look at materials and risks. Check the care tag for codes indicating safe cleaners: “W” for water-based, “S” for solvent-only, “W/S” for either, and “X” for vacuum-only. Note the construction: memory foam, latex, coils with pillow-top, or hybrid layers. Identify previous spills, yellowing, quilting seams, and tufts. In Elizabeth, you may encounter dust soot near windows and heavier pollen deposits during peak seasons; factor these into cleaning frequency and vacuuming intensity. Safety also means planning for ventilation and managing moisture carefully to prevent mildew.
Phase 2: Room Prep and Airflow
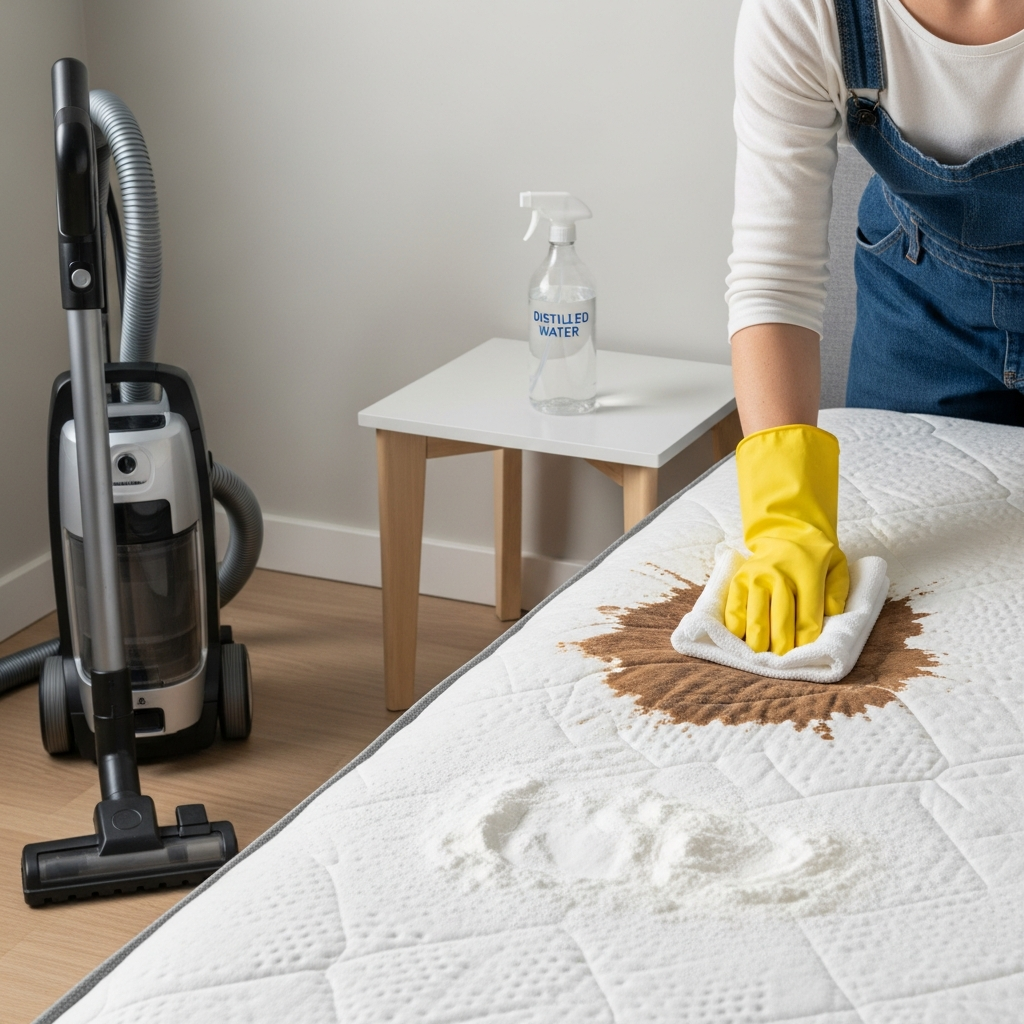
Open windows when weather allows and set up a fan to move air across the mattress. In humid months, add a dehumidifier. Strip all bedding and start laundry so your mattress can air out while textiles are refreshed. Gently lift the mattress away from the wall for full access. Create a supply station with white cloths, a mild enzyme cleaner for protein stains, a color-safe oxygen cleaner, distilled water, baking soda, and your vacuum with an upholstery attachment.
Phase 3: Dry Soil Extraction
Debris removal underpins the entire process. Use your upholstery tool to vacuum slowly in overlapping lines, top to bottom, then left to right. Switch to the crevice tool for piping, handles, and tufts. This step pulls up dust mites, skin cells, lint, and tracked-in grit that fuel odors and allergy symptoms. For homes near busy corridors or in households with pets, add an extra vacuum pass for thoroughness.
Phase 4: Stain Identification and Chemistry Basics
Before you reach for a product, categorize stains by type to match the chemistry:
- Protein stains: sweat, blood, urine—best approached with enzyme cleaners and cool water blotting
- Oil-based: body oils, lotions—respond to mild detergents or oxygen cleaners
- Tannin: coffee, tea—treat with gentle detergent solutions
- Unknown: start with the mildest approach and escalate only if needed
Always test on a hidden corner first. Remember that memory foam and latex need minimal moisture; blot, do not soak. During winter in Elizabeth, indoor air is typically drier, aiding drying times; in summer, plan for extended ventilation.
Phase 5: Controlled Spot Treatment
Apply cleaner to a cloth instead of directly on the mattress. Lightly pre-dampen the stain with distilled water unless the care tag prohibits water. Blot from the outside inward to keep the spot from spreading. Alternate between the cleaner cloth and a damp-rinse cloth until the stain diminishes. Finish with a dry cloth to wick remaining moisture. For tough biological odors, allow enzyme solutions to dwell per label instructions, then blot thoroughly.
Phase 6: Deodorizing the Entire Surface
After spot work, sprinkle a fine layer of baking soda across the surface. Baking soda helps absorb lingering odors and traces of moisture. Let it sit for 30–60 minutes or longer, then vacuum thoroughly. If ambient humidity is high, run fans or a dehumidifier to help drying; this is especially relevant for Elizabeth’s muggy stretches.
Phase 7: Optional Steam on Steam-Approved Mattresses
If the care tag allows steam, you can lightly pass a garment steamer above the fabric to refresh the surface. Keep the head a few inches away and move briskly to avoid saturation. Immediately ventilate the room and continue airflow to ensure moisture dissipates quickly. Skip this step entirely for steam-prohibited foams or if you are unsure.
Phase 8: Drying, Air Exchange, and Verification
Elevate the mattress slightly or place it on its side briefly, if stable, so air can reach all faces. Fans should move air across the surface, not blast heat into foam. The mattress must feel cool and completely dry before re-dressing the bed. Touch multiple zones; if any area seems damp, pause and continue airflow. In coastal-influenced Elizabeth neighborhoods, nighttime humidity can climb—dry during daylight hours when possible.
Phase 9: Rotation and Protector Strategy
Rotate the mattress head-to-foot every three to six months to distribute wear. Add a breathable, waterproof protector to guard against future spills and sweat. Wash the protector monthly and inspect for seam wear or membrane damage. This preventive layer keeps soil from reaching the core and makes subsequent cleanings easier.
Process Timing and Seasonal Adaptation
Plan two to three hours for a careful clean from start to finish, with additional drying time as needed. In winter, central heat lowers indoor humidity, speeding evaporation. In summer, give the mattress more time to air dry and leverage dehumidification. During spring and fall pollen surges, increase the frequency of light vacuum sessions to keep allergens from embedding deeply.
Quality Control: What Success Looks Like
A successfully cleaned mattress should smell neutral, feel fully dry, and show no fresh ringing or water marks. Slight residual discoloration on older spots can be normal. The real wins are odor neutrality, improved air quality, and reduced allergen load. If you want to benchmark your at-home results against pro-level outcomes, review this informative keyword mid-process and decide whether a periodic expert reset fits your care plan.
Dealing with Specific Household Scenarios
- Kids’ Rooms: Keep a spill kit ready—white cloths, enzyme cleaner, distilled water. Respond immediately to accidents.
- Pet Households: Brush and bathe pets regularly, trim nails to protect fabrics, and use washable throws on the bed.
- Guest Rooms: Air out mattresses before visits, vacuum, and launder bedding one week in advance to reduce mustiness.
- Allergy-Prone Sleepers: Wash bedding weekly in warm to hot water as safe, use encasements for pillows and mattress, and maintain a HEPA air purifier.
Mattress Types and Cautions
- Memory Foam: Very sensitive to saturation; keep liquids to an absolute minimum.
- Latex: Avoid harsh solvents and high heat; use gentle blotting.
- Innerspring/Pillow-Top: More forgiving on the surface but still require restraint with liquids.
- Hybrids: Combine rules; treat the foam layers as moisture-sensitive while maintaining surface gentleness.
Odor Troubleshooting
If odors persist after a full cycle of spot work and baking soda, repeat the deodorizing the next day. Evaluate surrounding sources—pillows, toppers, under-bed storage, or HVAC filters. Elizabeth’s older homes can have dustier baseboards and floor gaps; a quick room refresh can make a noticeable difference.
Post-Clean Care and Sleep Hygiene
Once the mattress is dry and dressed, maintain cleanliness with weekly sheet changes, monthly protector laundering, and seasonal deep cleans. Showering before bed after outdoor activities limits pollen transfer. Avoid eating or drinking in bed to reduce spill risk. Keep windows screened and consider a short evening air-out when conditions are dry and breezy.
Frequently Asked Questions
Q: How often should I perform the full process?
A: Seasonally is ideal—four times per year—plus spot treatment as needed. Rotate during each session.
Q: Can I use vinegar on my mattress?
A: While vinegar can neutralize some odors, it may leave a lingering scent and is not always ideal for foam. Use baking soda and enzyme cleaners instead.
Q: Does sunlight help?
A: Brief, indirect sunlight can freshen fabrics, but avoid prolonged, direct exposure that may degrade materials or cause yellowing.
Q: Is steaming always safe?
A: No. Steam only if the tag allows, keep passes brief, and ensure thorough drying.
Q: What if I see mold?
A: If you suspect active mold, discontinue DIY cleaning and consult a qualified professional for evaluation and remediation steps.
Q: Can I flip my mattress?
A: Only if it is double-sided. Otherwise, rotate head-to-foot to even wear.
Q: How do I avoid water rings?
A: Work slightly beyond the stain boundary with light, even blotting and finish with a wide-area baking soda application and complete vacuuming.
Q: Are mattress protectors noisy?
A: Quality protectors are quiet. Choose breathable membranes and wash regularly to maintain comfort.
From Process to Practice
Now that you understand each phase—assessment, dry extraction, targeted stain work, deodorizing, drying, and protection—you can execute the plan confidently in your Elizabeth home. Align sessions with the seasons, respect material limits, and keep airflow steady. If you want a scheduled deep refresh to complement your routine, consider arranging support through this trusted keyword and rest easier knowing your mattress is clean, dry, and ready for restorative sleep.
Sleep Better in Elizabeth
Take advantage of the next clear, low-humidity afternoon to complete your first full cycle. With measured steps and patient drying, you will preserve comfort, support, and indoor air quality. For an extra layer of confidence or occasional expert intervention, reach out via this convenient keyword and enjoy a consistently fresh sleep surface year-round.